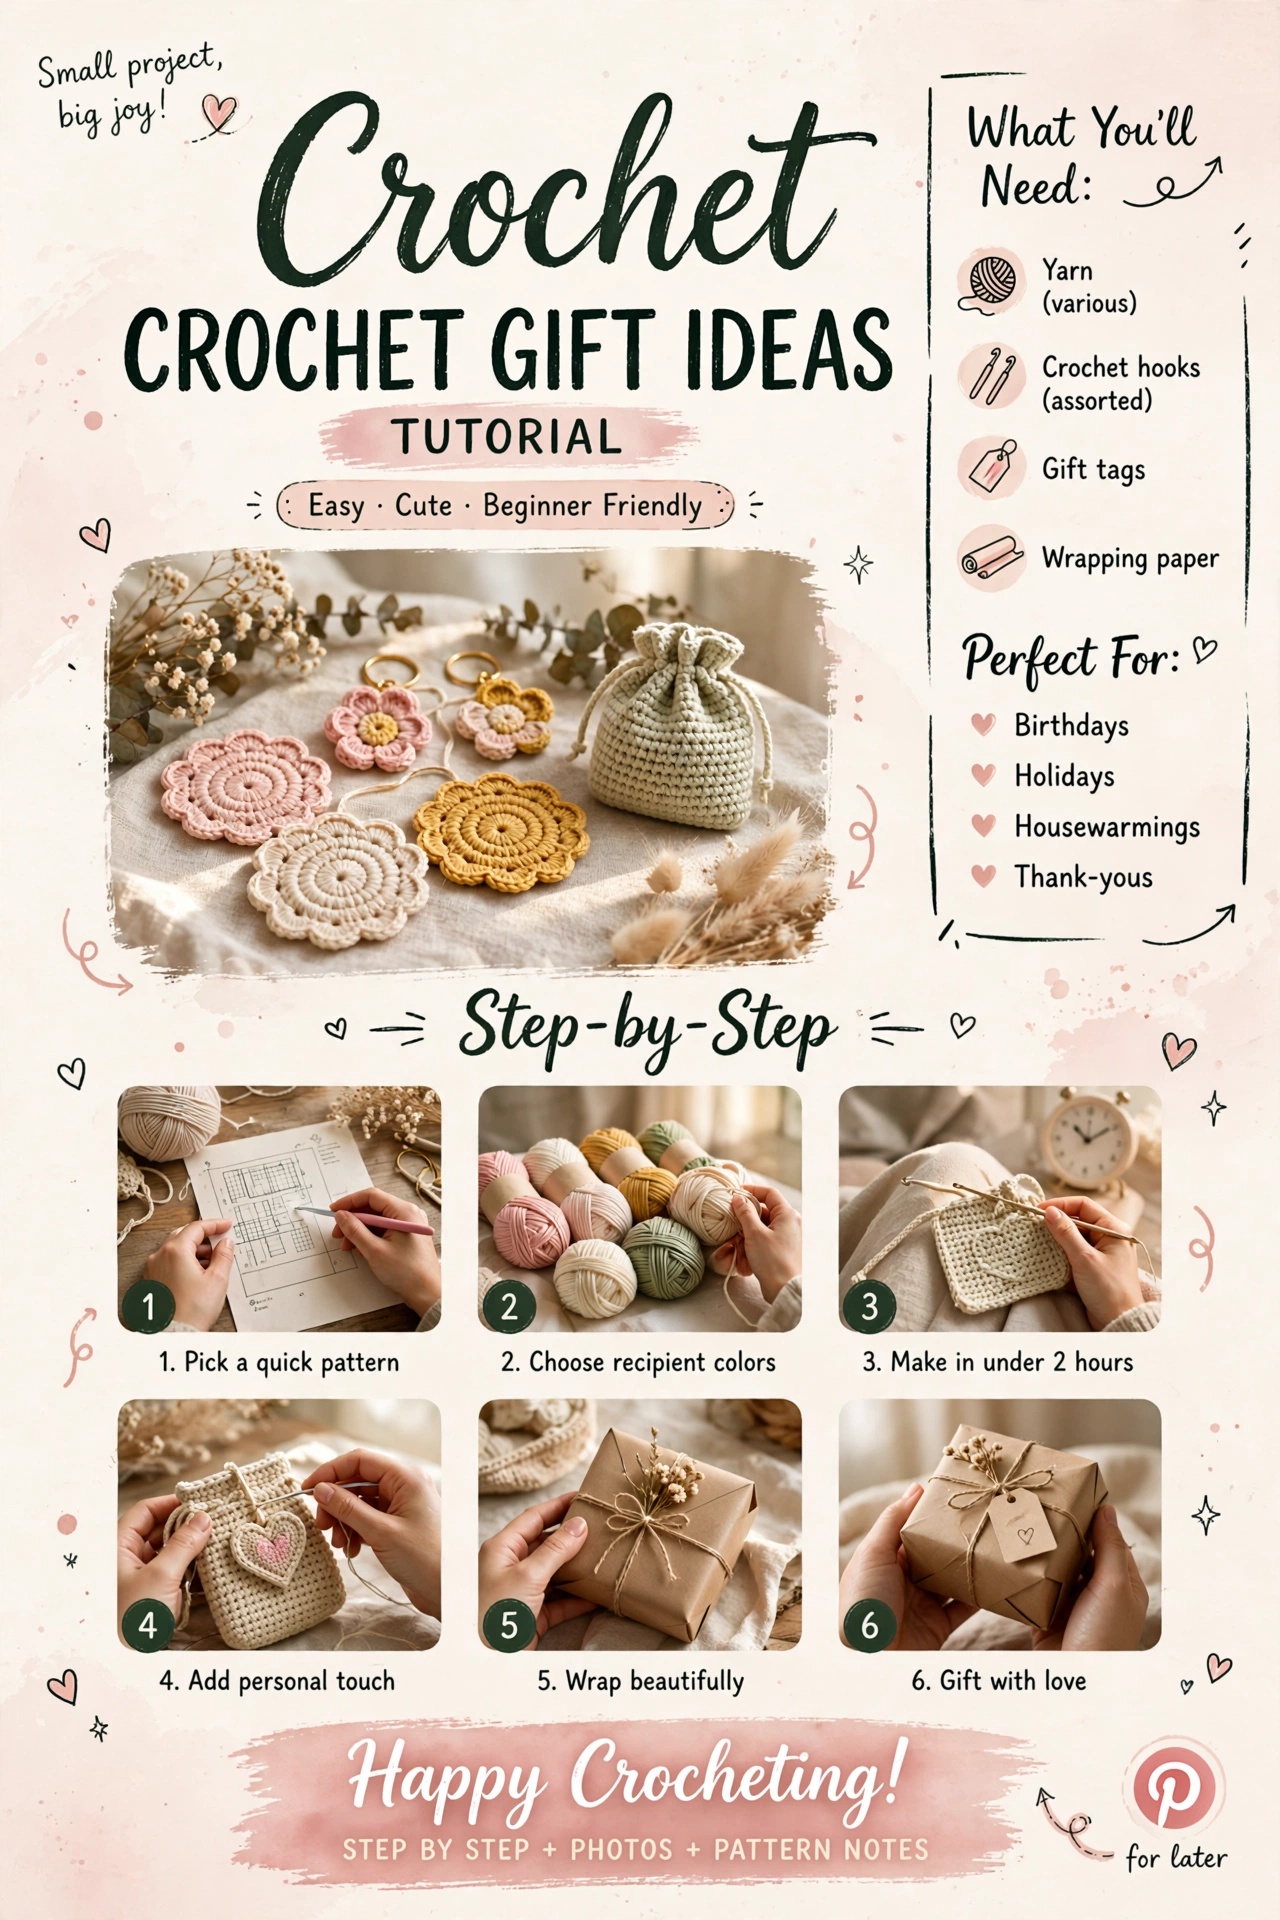
Three fast handmade gifts with small yarn requirements and simple stitch counts.
Work through the guide in order and use the checkpoints before moving to the next stage.
Materials & preparation
Before you start
Set out your yarn, hook, scissors and needle. Read the complete instructions once before making the first stitch. Write down any target stitch count or finished measurement so you can check your work as you go.
Gauge & tension
Your yarn, hook and personal tension determine the finished fabric. When size matters, make a small swatch and let it rest flat before measuring. Do not force your hands to match a number by gripping the hook harder.
Core pattern / method
1. Mini coaster
- MR, 6 sc. 6 st.
- Inc around. 12 st.
- [Sc 1, inc] around. 18 st.
- Sc around, fasten off. 18 st.
2. Simple bookmark
- Ch 7.
- Sc in 2nd ch and across. 6 sc.
- Rows 2–18: Ch 1, turn, sc across. 6 sc.
- Fasten off; add a tassel if desired.
3. Flower applique
- MR, 10 sc; sl st.
- [Ch 3, 2 dc, ch 3, sl st in next sc] repeat 5 times.
- Fasten off and weave ends.
Gift finish
Use matching yarn for all three pieces, attach a handwritten tag and block flat before wrapping.
Checkpoints while you work
Pause at the end of every row, round or major step and compare your result with the instructions. Check the stitch count, shape and tension before continuing. If something changes unexpectedly, fix it while the correction is still small.
Troubleshooting
The finished shape looks different
Check stitch count, yarn weight, hook size and tension in that order. A small difference in any one of these can change the finished fabric. Correct construction first; use blocking only for final shaping.
My stitches feel inconsistent
Slow down for one row, relax your shoulders and keep the hook movement small. Consistency improves when the hand motion becomes repeatable, not when you pull the yarn tighter.
I made a mistake several rows back
Find the first wrong stitch, unravel only to that point and rebuild the section. Carrying an incorrect stitch forward usually makes the final repair harder.
Finishing the project
Take time to secure every tail, straighten the edges and shape the finished piece. Weave tails through several stitches in one direction, change direction and trim only after the yarn is secure. If the project benefits from blocking, follow the fiber care instructions and let it dry completely.
Variations & next projects
Once the base version feels comfortable, change one variable at a time: color, yarn weight, hook size, border or finished dimensions. Keeping the rest of the method unchanged makes it easier to understand what each change does.
Repeat the same construction in a new color palette or size before moving to a completely different technique. This is one of the fastest ways to turn a tutorial into a skill you can reuse.
Care & storage
Follow the yarn label for washing and drying. Store finished crochet clean and completely dry. For frequently handled items, inspect seams, joins, straps and hanging loops occasionally and repair a loose end before it becomes a larger problem.
Final notes
You do not need a perfect first attempt. The real skill is learning to read your fabric, count your work and make a small correction when something changes. Keep the finished piece as a reference for future projects and note the yarn, hook and adjustments that worked well.