Crochet Baby Booties
A sweet beginner crochet baby booties tutorial using a small oval sole, shaped upper, toe decreases, and a simple tie.
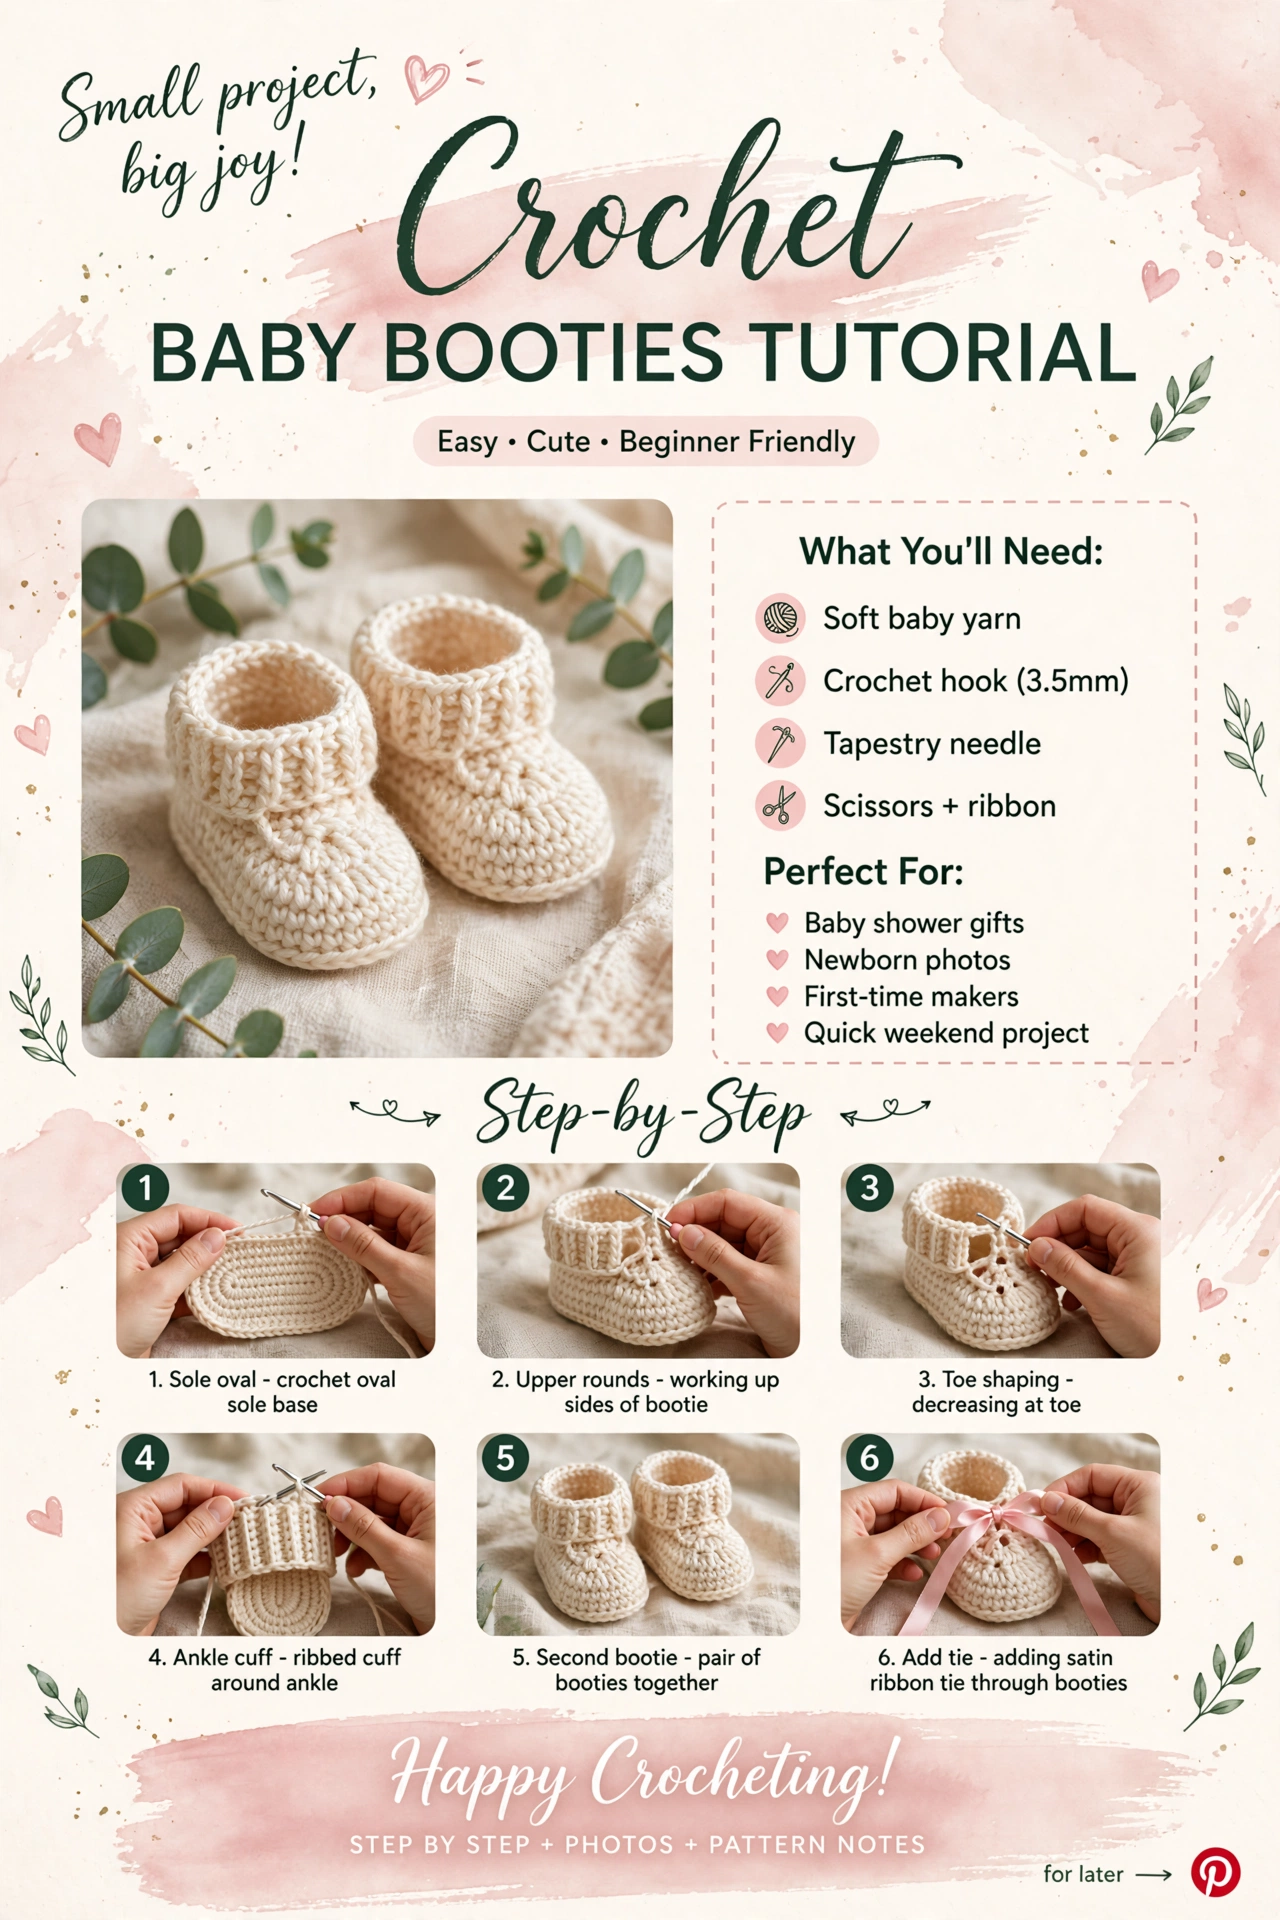
Complete tutorial roadmap
- Prepare yarn, hook, measurements, and workspace.
- Build the main shape with consistent stitch counts.
- Pause at checkpoints to compare size and symmetry.
- Finish edges, joins, closures, or hardware carefully.
- Block, wash, and store the finished project appropriately.
Materials & preparation
Soft baby yarn, 3.5 mm hook, tapestry needle, scissors, optional ribbon
Core pattern / method
Baby booties are small, but accurate counting matters. Work both booties from the same notes so the pair matches in length, height, and toe shaping.
Step-by-step
- Begin with an oval sole, working around both sides of the foundation chain.
- Build the upper with even rounds, then concentrate decreases around the toe so the front curves naturally.
- Finish the ankle and make the second bootie using the same number of rounds.
Checkpoint
Lay the two soles together before shaping the uppers. After the toe round, both booties should have matching openings and similar side height.
Troubleshooting
If the sole curls, check your stitch placement around the rounded ends. If the toe looks too pointed, spread the decreases over more stitches. Avoid tight ribbon ties and follow safe-use guidance for baby items.
Finishing
Weave in ends inside the bootie and gently shape the toe. Add a soft decorative tie only if it can be secured safely and comfortably.
Variations & next projects
Make a matching pair in two colors, add a simple contrast cuff, or use the sole as the base for a slightly taller slipper.
Care & storage
Follow the yarn label for washing. Check the finished booties for loose ends before every use.
Final notes
Record your hook size, stitch count, and any adjustment that worked for your tension. Those notes make the next version easier and more consistent.